Overnight Pizza Dough
100 Korean Dishes

Foccacia
Skirt Steak with Romesco Sauce

Boeuf Bourguignon

Broccoli Bolognese with Orecchiette

Mild Chicken Curry

Pasta e Fagioli

Pickled Red Onions

Easy Chorizo and Butternut Squash Soup

Coconut-Curry Braised Chicken Thighs

Roasted Carrot Soup

Homemade Salad Dressings Make a Star Out of Salad

Spicy Pork & Vegetable Tofu

Potet dressing
Kremede blåskjell
Hummus

Tahini

Cesar Salad

Dressing

Lasagna with baby spinach and béchamel sauce

Bucatini Carbonara

Cacio e Pepe

Grytebrød med ovnsbakt hvitløk
Pizza (Basics with Babish)

Pizza Filone – pizzarull med ricotta, spinat og røkt skinke

Pizza Raviolone – pizzaravioli med trøffel og robiola tre latte

Pizza Sfincione

Ragu
Surdeigs pizza (Brothers Green Eats)

Thai basilikum kylling (Easy Gai Pad Krapow)

Thai basilikum kylling Reddit (Easy Gai Pad Krapow)

Chickpea curry

Krigskake (brownies)
Dutch baby

Gresk marinert kylling

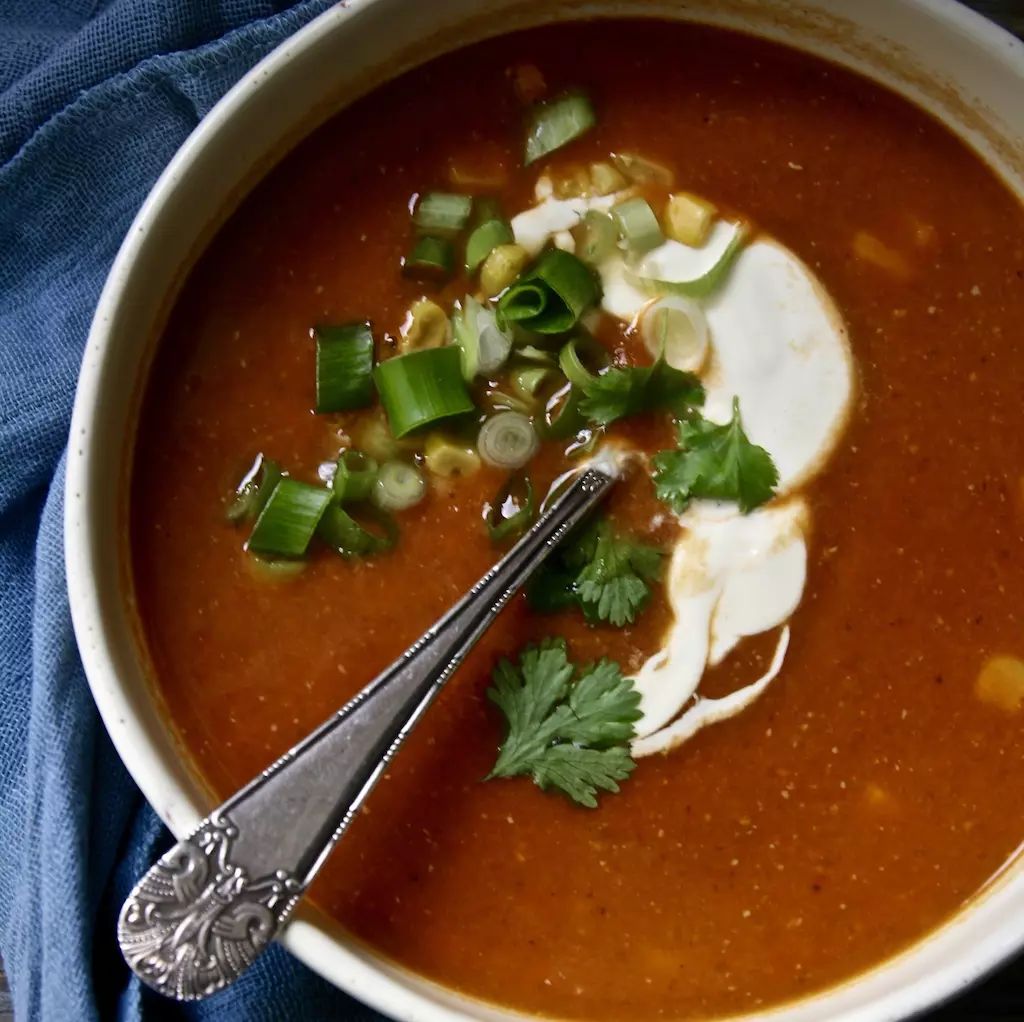
Mexicansk linsesuppe
Naanbrød

BPs pizza deig
New York-Style Pizza (Binging With Babish)
